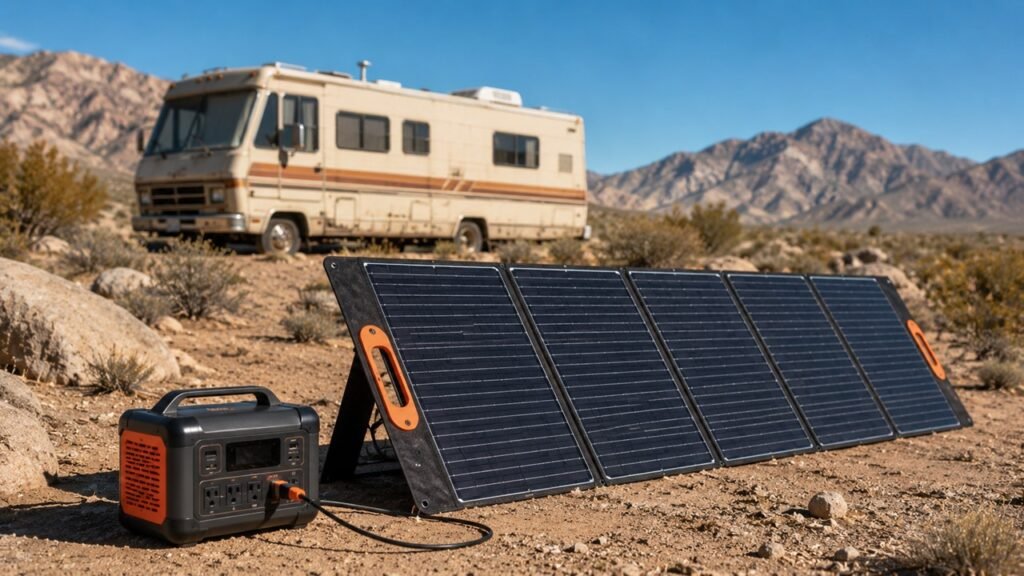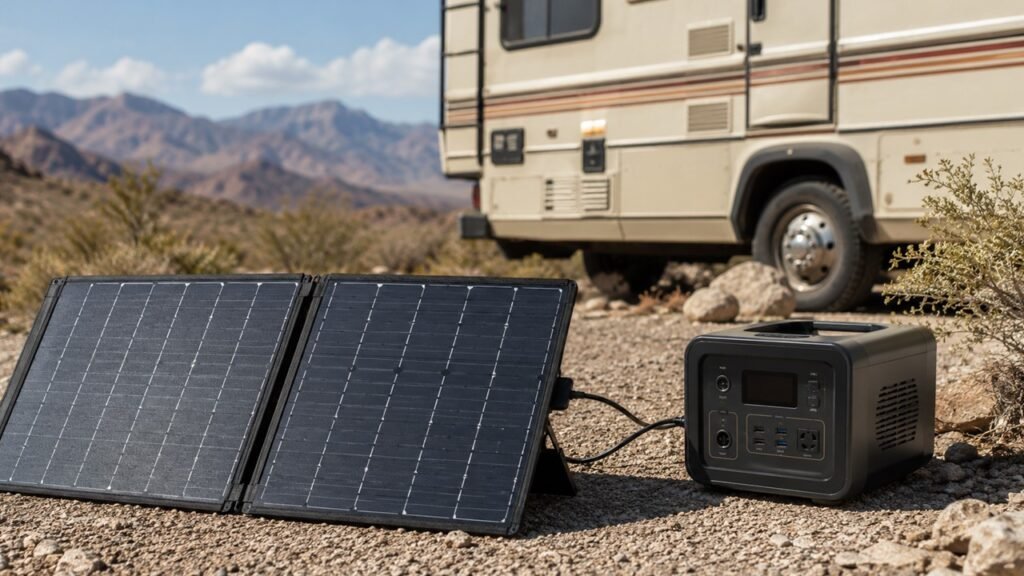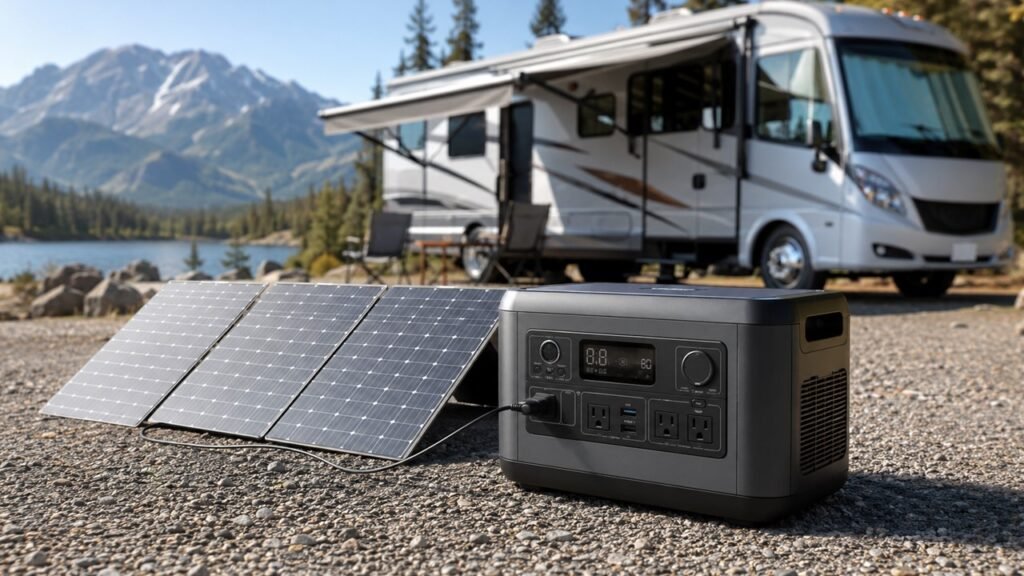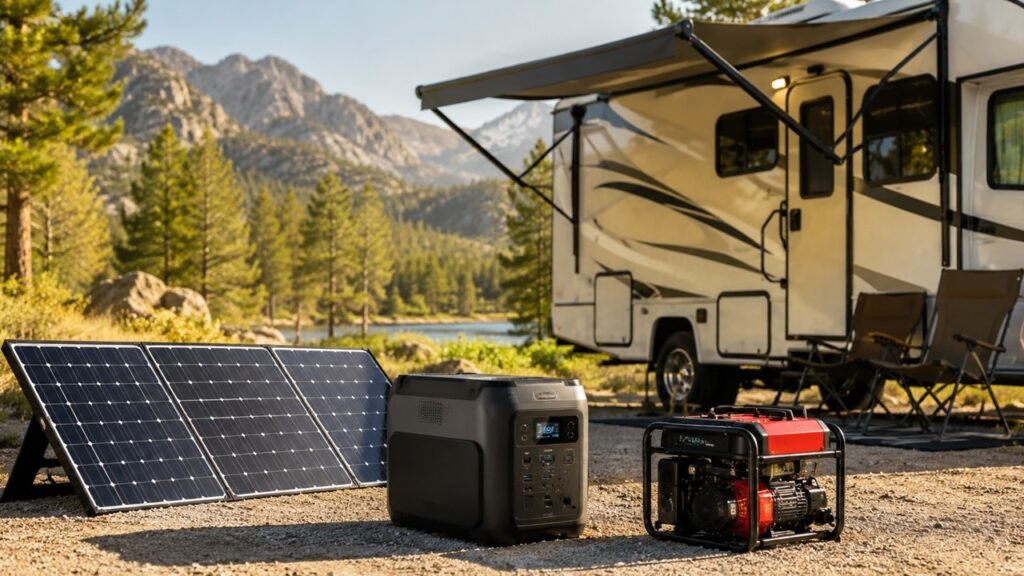
RV lithium batteries charge differently from lead-acid and AGM batteries. Most use LiFePO4 chemistry, which charges faster, lasts longer, and provides more usable capacity, but requires compatible charging equipment.
To charge RV lithium batteries properly, use a lithium-compatible charger, converter, inverter-charger, solar charge controller, or DC-DC charger. The charging source should match the battery’s voltage, charging profile, current limits, and temperature requirements.
Many older RVs have lead-acid charging systems that may not fully charge lithium batteries or use the correct settings. This guide covers charging methods, voltage settings, charging times, common mistakes, and cold-weather charging tips.
Key Takeaways
- RV lithium batteries need a lithium-compatible charger, converter, inverter-charger, solar controller, or DC-DC charger.
- Most 12V LiFePO4 batteries charge around 14.2V to 14.6V, but the exact setting depends on the battery manufacturer.
- Lithium batteries do not need equalization charging.
- Float charging is usually unnecessary and should be set low or disabled when possible.
- Never charge lithium batteries below freezing unless the battery has built-in heating or low-temperature charging protection.
- A battery monitor is more accurate than voltage alone for checking lithium state of charge.
- A DC-DC charger is the safest way to charge RV lithium batteries from an alternator.
- Solar panels can charge lithium batteries, but they must run through a lithium-compatible charge controller.
Disclaimer: This article is for general informational purposes only. RV battery systems and charging requirements vary by equipment and manufacturer. Always follow the instructions provided by your battery, charger, and RV manufacturers.
What Makes RV Lithium Batteries Different From Lead-Acid Batteries?
RV lithium batteries are different because they accept charge faster, hold voltage more steadily, and allow deeper discharge than lead-acid batteries. A LiFePO4 battery can often use most of its rated capacity, while lead-acid batteries are commonly limited to about half of their capacity if you want better lifespan.
Lithium batteries also do not need watering, venting for normal charging, or equalization charging. That makes them easier to maintain. However, they are less forgiving when the charging equipment is set incorrectly. A lithium battery depends on the right voltage, the right current limit, and a working Battery Management System, usually called a BMS.
Lithium vs AGM vs Flooded Lead-Acid Charging
Lithium batteries are usually the best choice for RV owners who boondock often, run high-demand appliances through an inverter, or want faster recovery from solar, shore power, generator power, or alternator charging.
| Battery Type | Typical Charging Style | Usable Capacity | Maintenance | Charging Speed | Special Notes |
| Flooded Lead-Acid | Bulk, absorption, float, sometimes equalization | About 50% recommended | High | Slow | Needs ventilation and water checks |
| AGM | Bulk, absorption, float | About 50% recommended | Low | Medium | Sensitive to overcharging |
| Lithium LiFePO4 | Constant current and constant voltage | Often 80% to 100% usable | Very low | Fast | Needs lithium profile and BMS protection |
How RV Lithium Battery Charging Works
RV lithium battery charging works by controlling voltage and current. A lithium charger does not simply push power into the battery. It follows a charging profile that lets the battery charge quickly at first, then slows down near full charge.
The Two Main Charging Stages
Lithium batteries usually charge in two main stages.
- Bulk or constant current: The charger sends a steady current into the battery. This is the fastest part of the charge.
- Absorption or constant voltage: The charger holds the target voltage while the current slowly tapers down.
- No long float stage: Lithium batteries do not need a long float stage like lead-acid batteries.
This is one reason lithium batteries charge faster. Lead-acid batteries spend more time in absorption and float stages, especially near the end of charging. Lithium batteries can accept higher current for a longer part of the charging cycle.
What Voltage Should You Charge a 12V RV Lithium Battery To?
Most 12V LiFePO4 batteries charge between 14.2V and 14.6V. A common target is around 14.4V, but the correct setting always comes from the battery manufacturer.
| Lithium Battery System | Common Charging Voltage Range | Notes |
| 12V LiFePO4 | 14.2V to 14.6V | Most common RV setup |
| 24V LiFePO4 | 28.4V to 29.2V | Used in larger systems |
| 48V LiFePO4 | 56.8V to 58.4V | Used in advanced off-grid systems |
These are general ranges. Always check your battery manual before setting a charger, converter, inverter-charger, MPPT controller, or DC-DC charger.
Do RV Lithium Batteries Need Float Charging?
RV lithium batteries usually do not need float charging. Float charging was designed for lead-acid batteries, which slowly lose charge and need to be maintained at a lower voltage.
Lithium batteries have a much lower self-discharge rate. Once they are full, they do not need to be held at a high voltage for long periods. If your charger requires a float setting, many lithium battery manufacturers recommend setting it low, often around 13.4V to 13.6V for a 12V LiFePO4 battery.
For long-term battery health, do not keep a lithium battery at a high charging voltage all the time. Let the smart charger stop, enter standby, or hold a lower float voltage if required.
What Does the BMS Do During Charging?
The Battery Management System protects the lithium battery during charging and discharging. It is one of the main reasons LiFePO4 batteries are practical for RV use.
A BMS can protect against:
- Overcharging
- Over-discharging
- Overcurrent
- Short circuits
- High temperature
- Low-temperature charging
- Cell imbalance
The BMS is a safety layer, not a replacement for proper charging equipment. You should still use chargers and controllers that match your battery’s charging requirements.
Before You Charge: Check These Things First
Before charging RV lithium batteries, confirm the charging system is compatible with lithium. A quick check can prevent poor charging, BMS shutdowns, damaged equipment, and wasted time.
Check these items first:
- Battery chemistry: Confirm the battery is LiFePO4.
- Battery voltage: Confirm whether your RV uses a 12V, 24V, or 48V battery system.
- Charger profile: Make sure the charger has a lithium setting or adjustable voltage settings.
- Maximum charge current: Do not exceed the battery manufacturer’s recommended charge current.
- Cable size: Make sure wiring can safely handle the charger amperage.
- Fuse protection: Confirm proper fuse or breaker sizing.
- Temperature: Check whether the battery is above its minimum charging temperature.
- Battery monitor: Confirm the current state of charge if a monitor is installed.
- Equalization setting: Make sure equalization is turned off.
- Battery condition: Do not charge a swollen, leaking, cracked, or physically damaged battery.
Best Ways to Charge RV Lithium Batteries Properly
The best way to charge RV lithium batteries depends on where you are parked, how much power you use, and what charging equipment your RV already has. Most RV owners use more than one charging method.
1. Charging RV Lithium Batteries With Shore Power
Shore power is one of the easiest ways to charge RV lithium batteries. When you plug your RV into a 30A or 50A campground pedestal, the pedestal does not charge the battery directly. Instead, your RV converter or inverter-charger converts 120V AC power into DC power for the battery bank.
This is where many lithium upgrades go wrong. Older RV converters were often designed for flooded lead-acid or AGM batteries. They may not reach the voltage needed to fully charge a LiFePO4 battery. They may also stay in a float mode that is not ideal for lithium.
To charge lithium batteries properly with shore power:
- Use a lithium-compatible converter or inverter-charger.
- Set the bulk and absorption voltage according to the battery manual.
- Turn equalization mode off.
- Set float low or disable it if the charger allows.
- Confirm the charger output matches your battery bank voltage.
- Use a battery monitor to confirm the battery reaches full charge.
- Upgrade the converter if the old unit cannot be adjusted for lithium.
Shore power is best for campground stays, driveway charging, storage preparation, and fast charging when you have reliable AC power.
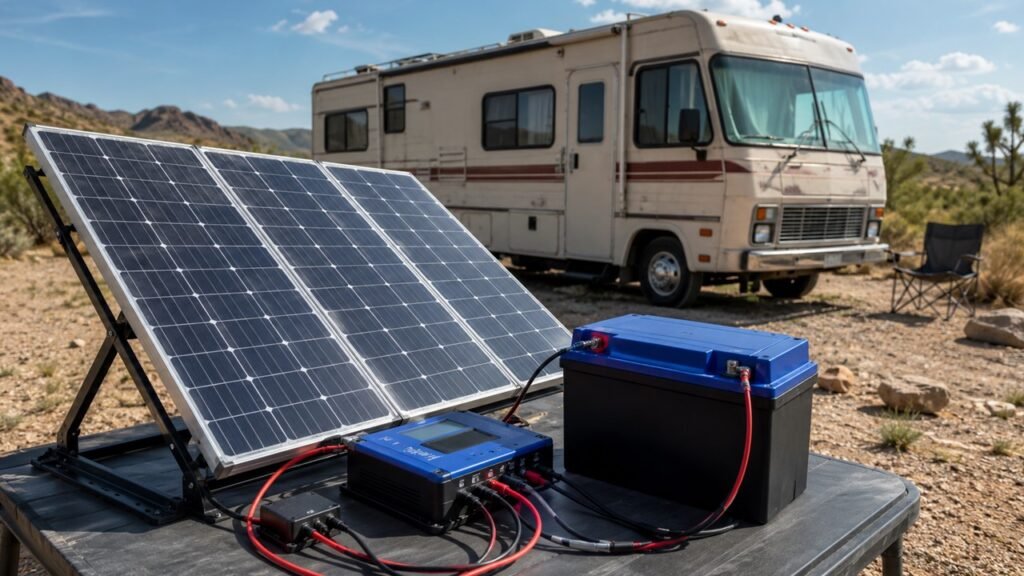
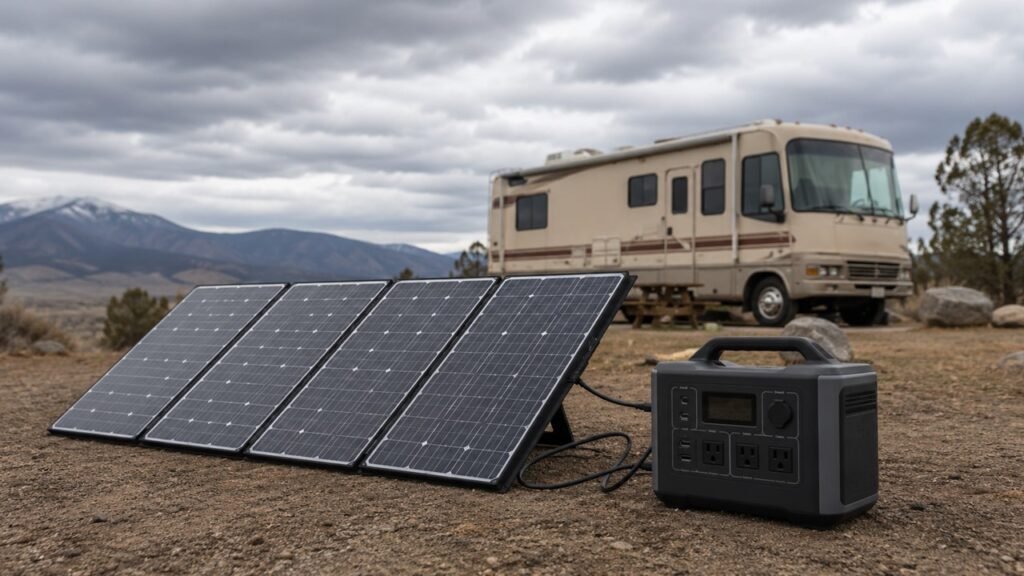
2. Charging RV Lithium Batteries With Solar Panels
Solar is one of the best charging methods for boondocking because it produces quiet, renewable power while you camp. However, solar panels should never be connected directly to RV lithium batteries. Solar output changes constantly, and the battery needs controlled voltage and current.
A solar charge controller sits between the panels and the battery. For lithium RV systems, an MPPT solar charge controller is usually the better choice because it converts solar power more efficiently than a basic PWM controller.
To charge lithium batteries properly with solar:
- Use a lithium-compatible MPPT charge controller.
- Set the controller to a LiFePO4 profile.
- Match solar panel wattage to battery capacity and daily power use.
- Turn equalization off.
- Use the manufacturer’s recommended absorption voltage.
- Set float low or disable it if allowed.
- Use correct wire size and fuse protection.
- Install a battery monitor to track real state of charge.
For many 12V LiFePO4 batteries, solar controller settings often look like this:
| Solar Controller Setting | Common 12V LiFePO4 Range |
| Absorption Voltage | 14.2V to 14.6V |
| Float Voltage | 13.4V to 13.6V or disabled |
| Equalization | Off |
| Temperature Compensation | Usually off unless the battery manufacturer says otherwise |
| Low-Temperature Cutoff | Around 32°F / 0°C or higher, depending on battery specs |
Solar is best for RV owners who camp off-grid, stay in sunny locations, or want to reduce generator runtime.
3. Charging RV Lithium Batteries While Driving
You can charge RV lithium batteries while driving, but direct alternator charging is not the best method. Lithium batteries have low internal resistance and can pull high current. That can overload the alternator, create heat, and cause charging problems.
A DC-DC charger solves this problem. It sits between the starting battery or alternator and the RV house battery bank. It regulates voltage and current so the lithium battery receives the correct charge profile.
A DC-DC charger helps because it:
- Protects the alternator from excessive current draw
- Gives lithium batteries the correct charging voltage
- Reduces voltage drop problems
- Allows safe charging while driving
- Helps mixed systems where the starter battery is lead-acid and the house battery is lithium
- Works well for motorhomes, campervans, truck campers, travel trailers, and fifth wheels
Choose a DC-DC charger based on your alternator capacity, battery bank size, wire distance, and maximum battery charge current. A 20A to 60A DC-DC charger is common in many RV and campervan setups, but the right size depends on your system.
4. Charging RV Lithium Batteries With a Generator
A generator can charge RV lithium batteries when shore power is not available and solar is not enough. The generator usually powers an AC charger, RV converter, or inverter-charger. The charger then converts generator power into the correct DC charging voltage for the battery.
To charge lithium batteries properly with a generator:
- Use a lithium-compatible charger, converter, or inverter-charger.
- Choose a charger size that does not overload the generator.
- Use a pure sine wave inverter generator when possible.
- Turn off equalization mode.
- Monitor charging current and voltage.
- Avoid running the generator just to hold lithium batteries at 100%.
- Stop charging when the battery reaches a practical state of charge if you are conserving fuel.
Lithium batteries are useful with generators because they accept charge quickly. That can reduce generator runtime compared with lead-acid batteries.
5. Charging RV Lithium Batteries With a Portable Charger
A portable lithium smart charger is helpful for maintenance, storage recovery, or charging a battery outside the RV. It is also useful when your built-in RV converter is not lithium compatible.
The charger must match your battery voltage and chemistry. A 12V LiFePO4 battery needs a 12V lithium charger. A 24V lithium bank needs a 24V charger. Do not use a random automotive charger unless the battery manufacturer confirms the settings are safe.
A portable charger is best for occasional charging, battery testing, backup charging, and small lithium battery banks.
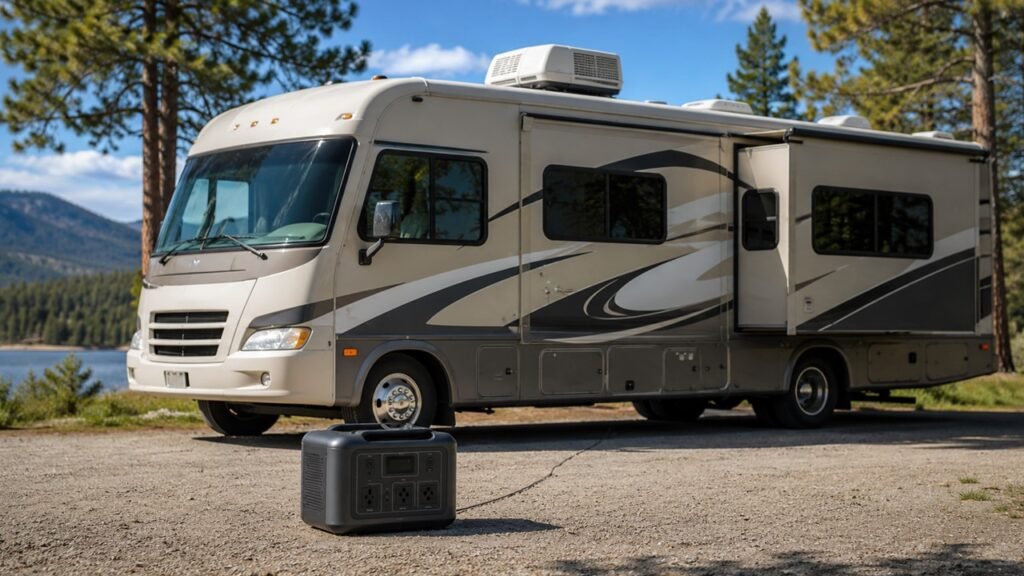
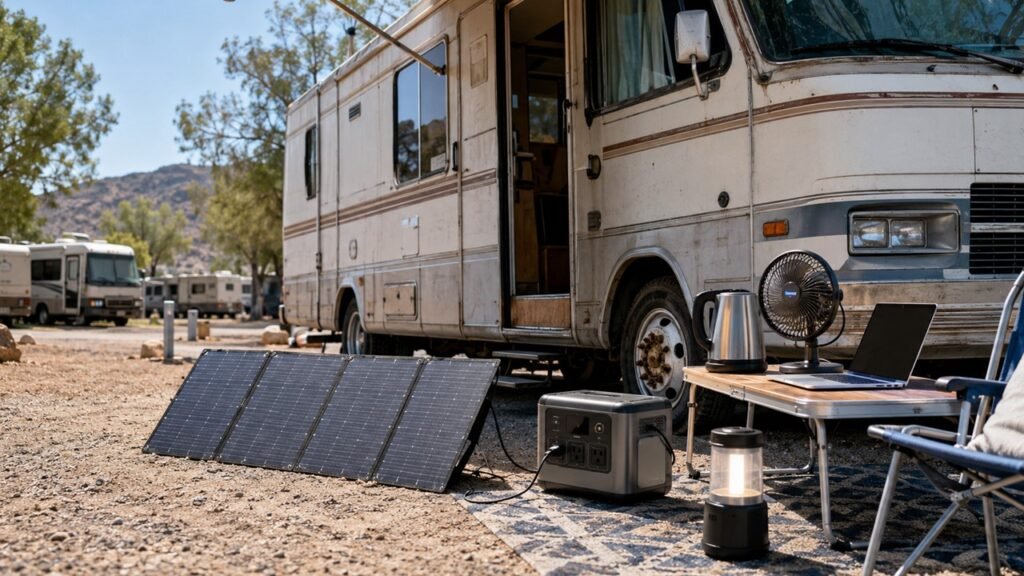
6. Charging RV Lithium Batteries With a Portable Power Station
A portable power station can support small RV loads or act as emergency backup power. Some RV owners use one to power devices directly instead of pulling energy from the house battery.
However, a power station is usually not the most efficient way to charge a large RV lithium battery bank. For regular charging, a proper RV converter, inverter-charger, MPPT solar controller, or DC-DC charger is usually better.
A portable power station makes sense as a backup, but it should not replace a well-designed lithium charging system.
Recommended Charging Settings for RV Lithium Batteries
The best charging settings are the ones in your battery manual. Still, most 12V LiFePO4 RV batteries fall within similar ranges.
| Setting | Recommended for 12V LiFePO4 | Why It Matters |
| Bulk / Absorption Voltage | 14.2V to 14.6V | Fully charges the battery safely |
| Float Voltage | 13.4V to 13.6V or disabled | Prevents long-term high-voltage holding |
| Equalization | Off | Equalization is for lead-acid, not lithium |
| Low-Temperature Cutoff | Around 32°F / 0°C | Prevents cold-weather charging damage |
| Charge Current | Follow battery manual | Prevents overheating and BMS shutdown |
These settings are general ranges, not universal rules. Some lithium batteries require different charging voltages, absorption times, charge current limits, or temperature cutoffs.
How Long Does It Take to Charge RV Lithium Batteries?
RV lithium battery charging time depends on battery capacity, charger size, starting state of charge, battery temperature, and whether RV loads are running during charging.
Use this simple formula:
Charging Time = Amp-hours needed ÷ Charger amps
For example, if you need to replace 80Ah and you use a 40A charger, the basic estimate is:
80Ah ÷ 40A = 2 hours
Real-world charging may take longer because the current can taper near full charge, the BMS may limit charging, and the RV may be using power at the same time.
Example Charging Times
| Battery Bank Size | Charger Size | Approximate Time From 20% to 100% |
| 100Ah | 20A | 4 to 5 hours |
| 100Ah | 40A | 2 to 3 hours |
| 200Ah | 40A | 4 to 5 hours |
| 400Ah | 80A | 4 to 5 hours |
These estimates assume the charger is properly sized and the battery can accept the full charging current.
Why Lithium Charges Faster Than Lead-Acid
Lithium charges faster because it can accept higher current for more of the charging cycle. Lead-acid batteries slow down heavily during absorption, especially near full charge. Lithium batteries do not need the same long absorption and float process.
This is why lithium batteries pair well with solar, generators, and DC-DC alternator charging. You can recover more usable capacity in less time.
Step-by-Step: How to Charge RV Lithium Batteries Properly
Follow these steps when charging RV lithium batteries from shore power, solar, generator power, or a portable charger.
- Turn off unnecessary RV loads: This helps more charger output go into the battery instead of running appliances.
- Confirm the battery is LiFePO4: Check the battery label and manual before setting any charger.
- Check battery temperature: Do not charge below the battery’s minimum charging temperature unless it has heating or low-temperature charging protection.
- Confirm the charger profile: Select the lithium or LiFePO4 setting. If using custom settings, enter the manufacturer’s recommended voltage and current limits.
- Check polarity and connections: Positive connects to positive. Negative connects to negative. Loose or reversed connections can damage equipment.
- Start charging: Monitor voltage, current, and temperature during the first charging cycle after installation.
- Watch for BMS shutdowns: If charging stops suddenly, the BMS may be protecting the battery from low temperature, overvoltage, or overcurrent.
- Confirm state of charge: Use a shunt-based battery monitor for the most accurate reading.
- Let the smart charger stop automatically: A proper lithium charger should stop, enter standby, or switch to a safe low float setting.
- Inspect the system after charging: Check for warm cables, loose terminals, tripped breakers, or error codes.
Common Mistakes to Avoid When Charging RV Lithium Batteries
The most common lithium charging mistake is using old lead-acid charging equipment without checking the settings. Lithium batteries are low maintenance, but they still need proper charging equipment.
Avoid these mistakes:
- Using an old lead-acid converter without checking lithium compatibility
- Leaving equalization mode enabled
- Charging below freezing without battery heating or low-temperature protection
- Connecting lithium batteries directly to an alternator
- Using undersized cables for high charging current
- Depending only on voltage to estimate state of charge
- Mixing old and new lithium batteries without checking compatibility
- Mixing lithium and lead-acid batteries in the same house battery bank
- Ignoring manufacturer charge current limits
- Leaving batteries at 100% for long-term storage
- Installing lithium batteries without proper fuse or breaker protection
- Assuming all LiFePO4 batteries use the exact same settings
Can You Charge RV Lithium Batteries With a Lead-Acid Charger?
You can sometimes charge RV lithium batteries with a lead-acid charger, but it is not ideal unless the charger settings match the lithium battery requirements.
A lead-acid charger may stop too early, fail to fully charge the battery, hold float voltage too long, or include an equalization mode. Equalization should not be used on lithium batteries.
A lead-acid charger may be acceptable only when:
- The charger has adjustable voltage settings.
- Equalization can be disabled.
- Float voltage can be set low or turned off.
- The charging voltage matches the lithium battery manual.
- The maximum charge current is safe for the battery.
- The battery manufacturer confirms compatibility.
For best results, use a lithium-compatible charger or upgrade the RV converter to a lithium-ready model.
Charging RV Lithium Batteries in Cold Weather
Cold weather is one of the most important lithium charging issues. A LiFePO4 battery may be able to discharge in cold temperatures, but charging below its safe temperature limit can damage the cells.
Why Cold Charging Is Different
Lithium batteries should not be charged below their minimum charging temperature unless they are designed for it. Many LiFePO4 batteries use 32°F / 0°C as a common cutoff point, while some manufacturers set a higher limit.
Charging too cold can cause lithium plating inside the cells. This can reduce capacity, shorten lifespan, and create long-term battery problems.
Safe Cold-Weather Charging Options
Use one of these options for winter RV camping:
- Use lithium batteries with built-in heaters.
- Install batteries inside a heated compartment.
- Use external battery heating pads with a thermostat.
- Use a BMS with low-temperature charging cutoff.
- Warm the battery before charging.
- Add temperature sensing to the charger or solar controller.
- Avoid charging below 32°F / 0°C unless the battery is designed for it.
Cold-Weather Charging Table
If you camp in freezing weather, heated lithium batteries are often worth the extra cost. They make cold-weather charging safer and easier.
| Temperature | Charging Recommendation |
| Above 32°F / 0°C | Normal charging if within battery specs |
| Around 32°F / 0°C | Check BMS and battery manual before charging |
| Below 32°F / 0°C | Do not charge unless the battery has heating or low-temperature protection |
| Extreme cold | Store or warm the battery before charging |
How to Store RV Lithium Batteries When Not in Use
RV lithium batteries do not need to be stored fully charged. In fact, long-term storage at 100% is not usually ideal. A partial charge is better for storage.
Best practices for lithium battery storage:
- Store around 40% to 60% state of charge.
- Disconnect parasitic loads.
- Turn off the inverter and unnecessary DC devices.
- Store batteries in a dry, moderate-temperature place.
- Check state of charge every few months.
- Avoid long-term storage at 100%.
- Avoid storing fully depleted batteries.
- Follow the battery manufacturer’s storage instructions.
Before storing your RV, make sure small loads like propane detectors, stereos, and control boards are not slowly draining the battery. A battery disconnect switch can help, but some RV systems may still bypass it. Check your setup carefully.
How to Know Your RV Lithium Battery Is Fully Charged
A lithium battery is fully charged when the charger reaches the target absorption voltage and the charging current tapers down to a low level. A smart charger may then stop, enter standby, or move to a low float voltage.
Signs of a full charge include:
- Charger reaches the target absorption voltage.
- Charging current tapers down.
- Battery monitor shows near 100%.
- Smart charger stops or switches to standby.
- Resting voltage settles around 13.3V to 13.6V for many 12V LiFePO4 batteries.
Voltage alone is not always reliable for lithium batteries because LiFePO4 has a flat voltage curve. A battery can show a similar voltage across a wide state-of-charge range. A shunt-based battery monitor gives a much better reading.
Troubleshooting: Why Your RV Lithium Battery Is Not Charging
A lithium battery that will not charge usually has a charger, setting, wiring, temperature, or BMS issue. Start with the simplest checks first.
The Charger Is Not Lithium-Compatible
An older RV converter may not reach the correct voltage for a lithium battery. It may also use a lead-acid charging profile that does not match LiFePO4.
Fix this by switching to a lithium profile, adjusting custom settings, or upgrading the converter.
The BMS Has Shut Off Charging
The BMS may stop charging to protect the battery. Common causes include:
- Battery temperature is too low
- Charging voltage is too high
- Charging current is too high
- Battery is deeply discharged
- A cell is out of balance
- There is a short circuit or wiring fault
Check the battery app, indicator lights, or manual for reset instructions.
Solar Controller Settings Are Wrong
A solar charge controller set to flooded, gel, or AGM may not charge lithium properly. It may also have equalization enabled.
Set the controller to LiFePO4 or custom lithium settings based on the battery manual.
DC-DC Charger Is Undersized or Miswired
A DC-DC charger may fail to charge if wiring, grounding, fuse size, or ignition signal wiring is incorrect. Long wire runs can also create voltage drop.
Check the manual, fuse ratings, cable gauge, and input voltage from the alternator side.
Battery Is Too Cold
Many lithium batteries block charging when the cells are below the safe charging temperature. Warm the battery or use a heated battery system before charging.
Loose or Corroded Connections
Loose terminals, tripped breakers, blown fuses, and corroded cable lugs can stop charging. Inspect every connection from the charger to the battery bank.
RV Lithium Battery Charging Safety Tips
RV lithium batteries are safe when installed and charged correctly. Most problems come from wrong charger settings, poor wiring, undersized cables, missing fuses, or cold-weather charging.
Follow these safety tips:
- Follow the battery manufacturer’s charging instructions.
- Use lithium-compatible charging equipment.
- Do not exceed the recommended voltage or current.
- Turn off equalization mode.
- Use properly sized cables, fuses, and breakers.
- Keep terminals clean and tight.
- Avoid charging damaged batteries.
- Keep batteries away from extreme heat.
- Do not bypass the BMS.
- Install batteries securely to prevent vibration damage.
- Use a battery monitor for accurate tracking.
- Keep the battery compartment dry.
- Check cables for heat during high-current charging.
- Hire a qualified RV technician if you are unsure about wiring or charger setup.
Best Charging Setup for Different RV Owners
The best lithium charging setup depends on how you camp. A weekend camper does not need the same system as a full-time boondocker.
| RV Use Case | Recommended Charging Setup |
| Weekend campground camping | Lithium converter or inverter-charger with shore power |
| Boondocking | Solar panels, MPPT controller, and battery monitor |
| Frequent driving | DC-DC charger plus solar |
| Full-time RV living | Shore power, solar, DC-DC charger, and inverter-charger |
| Cold-weather camping | Heated lithium batteries and temperature-aware charging |
| Generator backup | Inverter generator and lithium-compatible charger |
| Older RV lithium upgrade | Lithium converter, battery monitor, and wiring inspection |
For most RV owners, the most balanced setup is shore power charging, solar charging, and DC-DC charging while driving. This gives you three ways to recharge without depending on one source.
Expert Tips to Extend RV Lithium Battery Life
Lithium batteries can last a long time, but charging habits still matter. Good settings and simple monitoring can help protect your investment.
Use these tips:
- Avoid storing batteries at 100% for long periods.
- Avoid charging below freezing without protection.
- Use a battery monitor instead of guessing by voltage.
- Keep charge settings within manufacturer limits.
- Do not oversize the charger beyond the battery’s recommended charge current.
- Keep firmware updated on smart chargers and solar controllers.
- Inspect cables, fuses, and terminals regularly.
- Charge to 100% occasionally if your battery monitor needs syncing.
- Do not force a charge if the BMS has shut down for protection.
- Keep batteries away from engine heat and direct road spray.
- Balance the full system, not just the battery. Charger, wiring, fuses, and monitoring all matter.
Conclusion
Charging RV lithium batteries properly starts with matching the battery to the right charging equipment. A lithium-compatible charger, converter, inverter-charger, solar controller, or DC-DC charger gives the battery the voltage and current it needs without relying only on the BMS for protection.
For most 12V LiFePO4 RV batteries, the common charging range is around 14.2V to 14.6V, with float set low or disabled and equalization turned off. Cold-weather charging needs extra care because lithium batteries should not be charged below their safe temperature limit unless they have heating or low-temperature protection.
When your RV charging system is set up correctly, lithium batteries can charge faster, deliver more usable power, and last much longer than traditional lead-acid batteries. The key is simple: use the right charger, follow the battery manual, monitor the system, and protect the battery from extreme temperatures.
Related FAQs
Can I plug my RV into shore power to charge lithium batteries?
Yes, shore power can charge RV lithium batteries if your RV converter or inverter-charger supports lithium charging. Older lead-acid converters may need upgrading.
Do RV lithium batteries need a special charger?
Yes, they need a lithium-compatible charger or a charger with adjustable settings that match LiFePO4 requirements.
Can solar panels charge RV lithium batteries?
Yes, solar panels can charge RV lithium batteries, but they must connect through a lithium-compatible solar charge controller. Never connect panels directly to the battery.
Can I charge RV lithium batteries while driving?
Yes, but a DC-DC charger is strongly recommended. It protects the alternator and gives the lithium battery a controlled charge.
Can I charge lithium batteries with a generator?
Yes. The generator should power a lithium-compatible AC charger, converter, or inverter-charger.
Should I leave RV lithium batteries plugged in all the time?
It depends on the charger. A smart lithium charger can manage charging safely, but holding lithium batteries at high voltage for long periods is not ideal.
What happens if I use the wrong charger?
The battery may charge slowly, fail to reach full charge, trigger BMS shutdown, or suffer reduced lifespan.
Is it okay to charge lithium batteries to 100%?
Yes, it is okay to charge lithium batteries to 100%. However, they do not need to be charged to 100% every time. Partial charging is fine for regular use.
What is the best charger size for a 100Ah lithium RV battery?
A 20A to 50A lithium charger is common for a 100Ah RV lithium battery, but always follow the battery manufacturer’s maximum charge current.
Can RV lithium batteries be charged in freezing weather?
Not safely unless the battery has built-in heating, low-temperature protection, or is warmed above the safe charging temperature.
Why does my lithium battery stop charging early?
The BMS may have stopped charging because of low temperature, high voltage, high current, or a cell protection event. The charger may also be using the wrong profile.
Do I need to upgrade my RV converter for lithium batteries?
You may need to upgrade if the existing converter cannot reach the required lithium charging voltage or cannot disable lead-acid features like equalization.

Daniel Brooks writes about RV living, gear, and travel planning with a focus on everyday usability. His guides break down complex topics into simple advice for real RV owners. He reviews products with long-term use in mind, not marketing hype.